
2020 and 2021 have been very different years to usual and I think a lot of people have gone early on the Christmas decorations … we are all probably spending a bit more time at home this festive season, and whilst we may not be able to show off our Christmas tree to our friends and family as much as usual, we will be spending more time IN for sure. I don’t know how many of you have tried to photograph around the Christmas tree and been a little disappointed, but it often doesn’t translate into quite the magical picture you had in mind – it is a little harder than you expect to capture that sparkly creation.
This post is a quick summary to give you a couple of pointers about how to get the best out of your Christmas tree photos. It is essentially for “proper camera” ie DSLR users who are able to control the camera settings, but read on even if you are using your phone – there are a couple of iPhone tips at the end.
How to create that Bokeh effect
Bokeh is the lovely blurry lights in the background, which is achieved by having the focus point on something other than the Christmas tree lights …. read on below for how to do this.
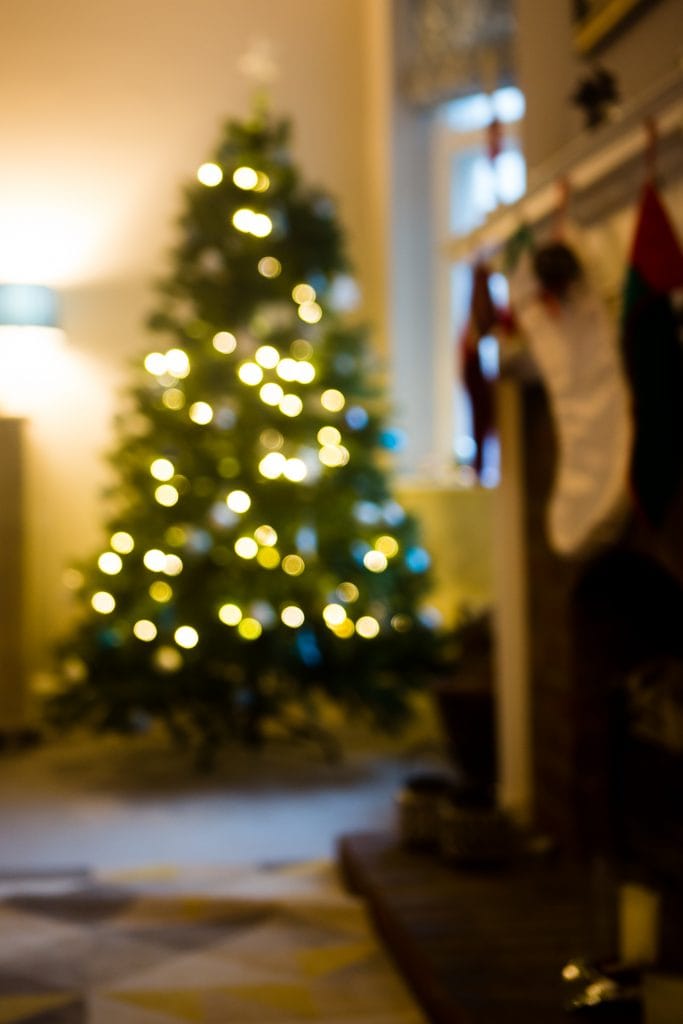
To take this kind of photo you need to put your camera into MANUAL FOCUS – and rotate the focussing ring so that the lights are all blurry and soft as above. If you leave the camera in auto focus it will give you sharp pin points of lights rather than big soft areas of light. Camera setting f2.8 and manual focus so that the lights are NOT in focus.
Starburst lights
This effect is where each of the Christmas tree lights give you a little starburst …. read on for how to do this.
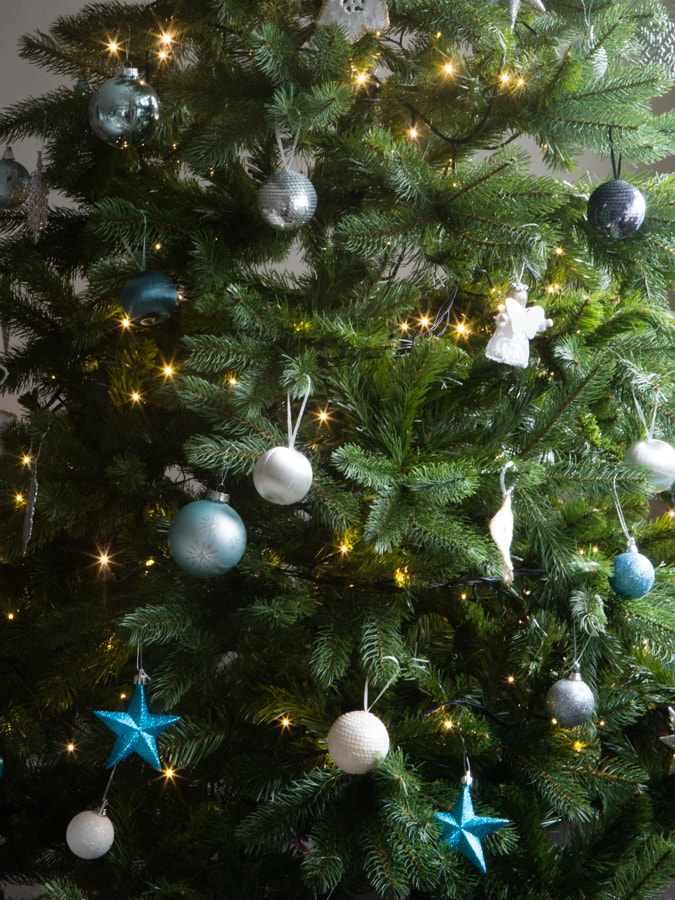
You definitely need a DSLR to achieve this effect, and ideally a tripod or somewhere to rest your camera. To get the starburst effect you need to set your aperture to as high as possible – eg F16 or F22, which means you will need a long shutter speed and therefore will not be able to hand hold the camera. If you don’ have a tripod then you can just use a table to rest the camera – it just needs to be super still as it may be anything from 5-15 seconds exposure to take the image. Looks nice though! Camera setting f22.
Starburst filters
You might call this cheating, but if you really love the starburst effect then you can get a filter for your DSLR. They are not expensive – I used my Fuji camera for this photo below and a set of 3 filters was around £15 – lovely for sunsets and Christmas trees! This is the one I used – Starburst filters

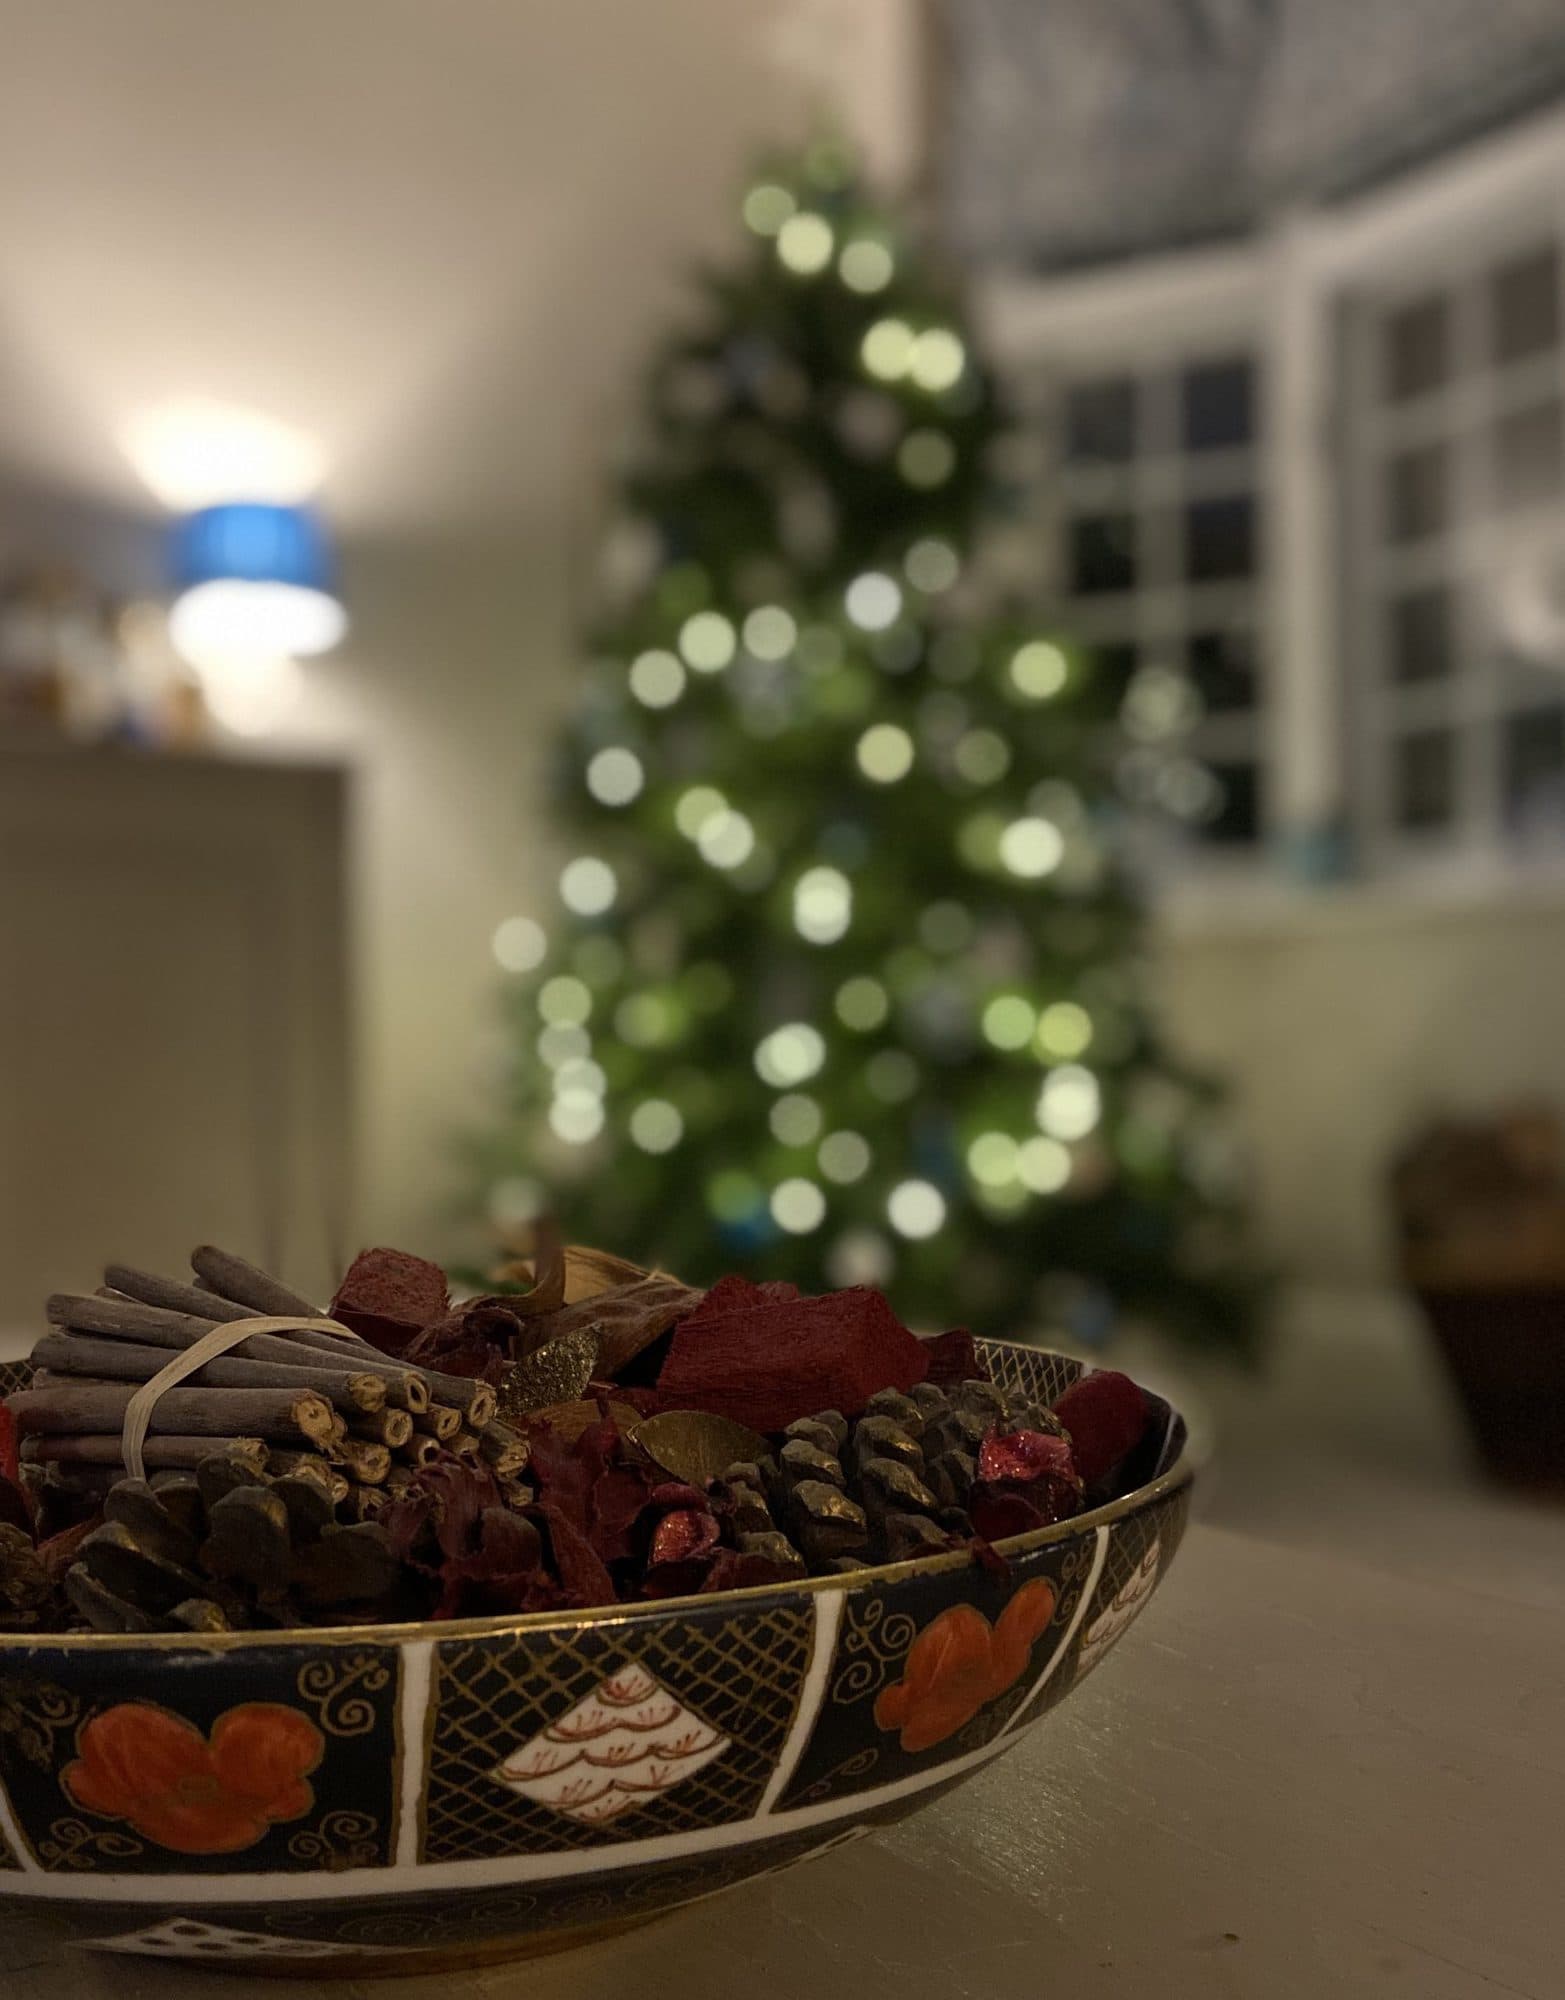
If you haven’t got a DSLR and want to take photos with your phone, then it is a bit harder to achieve these effects but it can be done using Portrait mode on the new iPhones or equivalent feature on Android phones – where your foreground is in sharp focus and the background is blurry. The images below were taken on iPhone on Portrait mode so that the background is blurry.

i Phone Portrait mode
To get the true “bokeh” effect you will need to use Portrait mode and focus your camera on something in the foreground as in the photo below.
i Phone Portrait mode
If you are interested in learning more about getting the most from either your Smartphone or digital SLR camera, then do get in touch about my training workshops. I have vouchers available for Christmas and dates in the new year for new workshops that will help you get to grips with your camera and take photos like a Pro! Smartphone Workshop voucher